课程名称: Python办公自动化
课程章节:第6章 玩转PPT自动化
课程讲师: 离岛
课程内容:
python操作PPT的主要场景如下
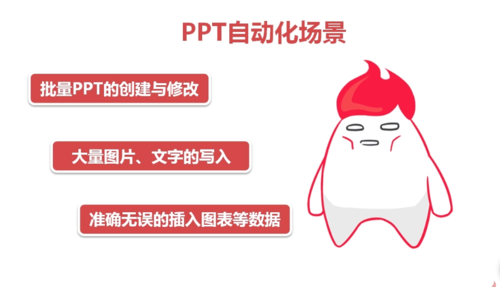
需要安装python-pptx 第三方模块, 用于自动化生成和更新PowerPoint文件
安装 pin install python-pptx
导入 import pptx
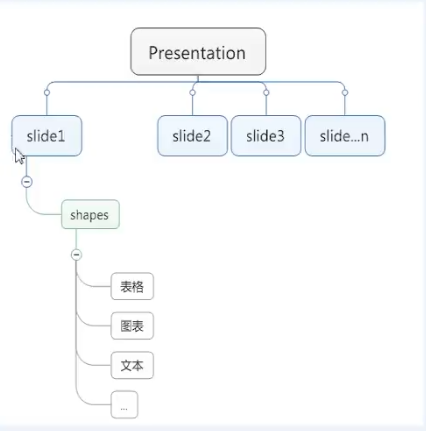
import pptx

prs = pptx.Presentation() #这里也可以入参,表示打开的ppt文件
prs.slides.add_slide(prs.slide_layouts[0])
prs.slides.add_slide(prs.slide_layouts[1])
prs.slides.add_slide(prs.slide_layouts[2])
prs.save('test.pptx') #这里也可以是另存为其他名字的ppt文件

#删除幻灯片
print(len(prs.slides))
del prs.slides._sldIdLst[1]
print(len(prs.slides))

#添加文本框
text1=slide.shapes.add_textbox(Inches(5),Inches(5),Inches(5),Inches(5))
text1.text="我是文本框"
p1=text1.text_frame.add_paragraph()
p1.text='我是段落1'
p1.add_run().text='end'
title_shape=slide.shapes.title
title_shape.text='标题1'
slide.shapes.placeholders[1].text='标题2'
添加图形到PPT
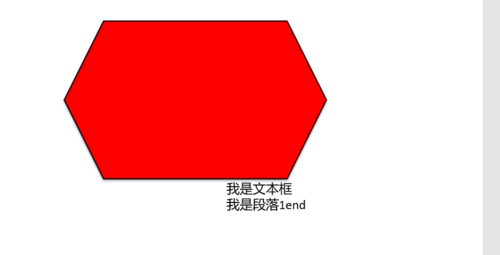
#添加自选图形
shape=slide.shapes.add_shape(MSO_SHAPE.HEXAGON,Inches(2),Inches(2),Inches(5),Inches(3))
#填充、边框
fill=shape.fill
fill.solid()
fill.fore_color.rgb=RGBColor(255,0,0)
line=shape.line
line.color.rgb=RGBColor(55,3,5)
line.width=Pt(2)
实现的结果如下
课程收获:
从python的角度去操作PPT, 这样不仅效率更高而且更方便操作