路由跳转
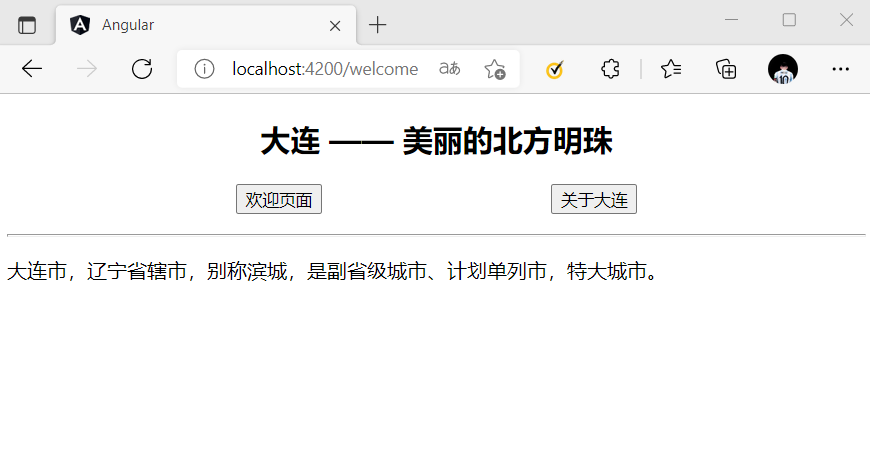
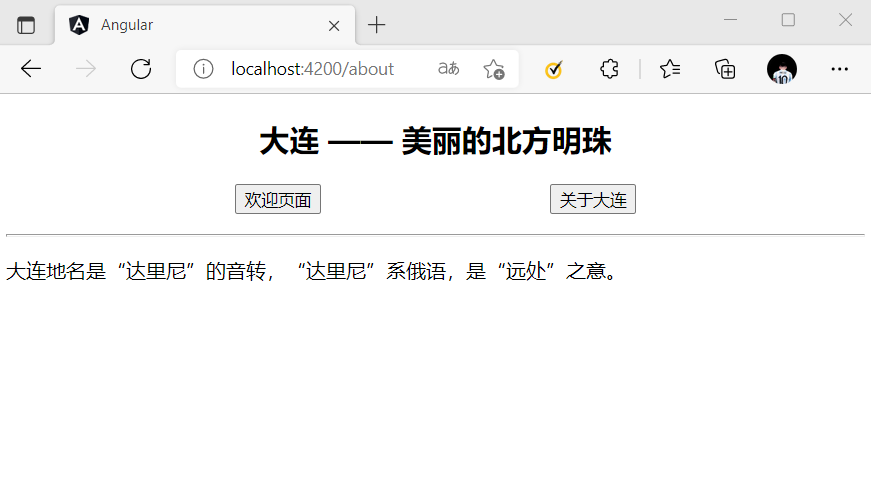
通常理解的页面跳转是,发生点击事件时,从一个页面跳转到另一个页面的过程。
但对于 Angular 这种单页面应用而言,页面跳转只是与路径进行匹配,若匹配成功则渲染相应的组件,并通过 html5 的history.pushState方法更新历史记录。
模板中的指令跳转
在模板文件中,通过 RouterLink 指令来设置路由跳转。
例子:
app-routing.module.ts
import { NgModule } from '@angular/core';
import { RouterModule, Routes } from '@angular/router';
import { LoginComponent } from './components/login/login.component';
import { WelcomeComponent } from './components/welcome/welcome.component';
import { PageNotFoundComponent } from './components//page-not-found/page-not-found.component';
import { AboutComponent } from './components//about/about.component';

const routes: Routes = [
  {
    path: 'login',
    component: LoginComponent
  },
  {
    path: 'welcome',
    component: WelcomeComponent
  },
  {
    path: 'about',
    component: AboutComponent
  },
  {
    path: '',
    redirectTo: '/login',
    pathMatch: 'full'
  },
  { path: '**',
    component: PageNotFoundComponent
  }
];

@NgModule({
  imports: [RouterModule.forRoot(routes)],
  exports: [RouterModule]
})
export class AppRoutingModule { }
app.component.html
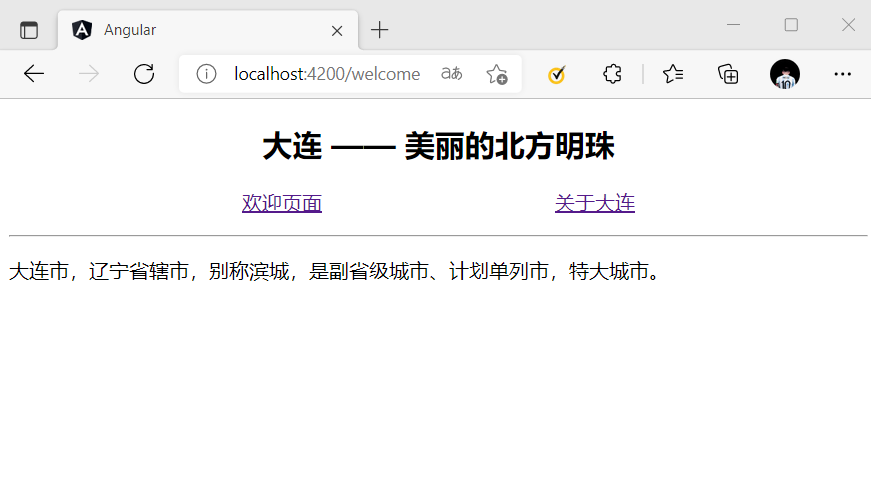
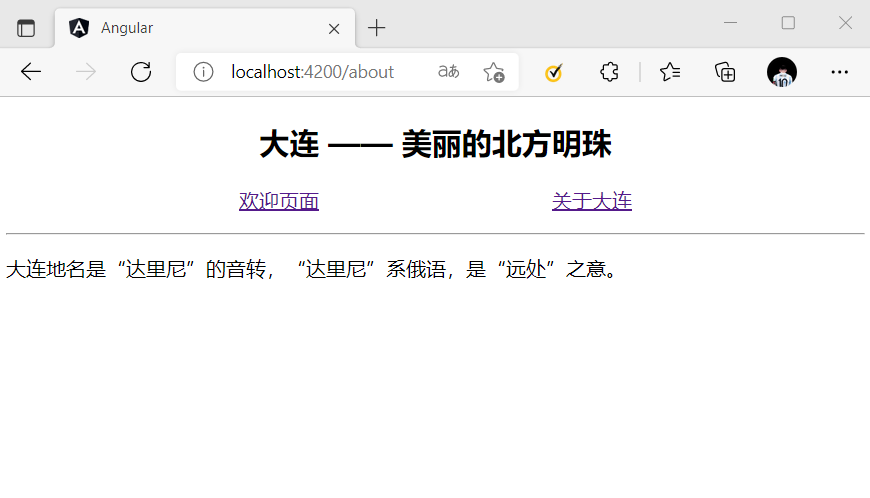
<section>
  <header style="text-align: center;">
    <h2>大连 —— 美丽的北方明珠</h2>
  </header>

  <p style="display: flex; justify-content: space-evenly;">
    <a [routerLink]="['/welcome']">欢迎页面</a>
    <a [routerLink]="['/about']">关于大连</a>
  </p>

  <hr>
  <router-outlet></router-outlet>

  <footer></footer>
</section>
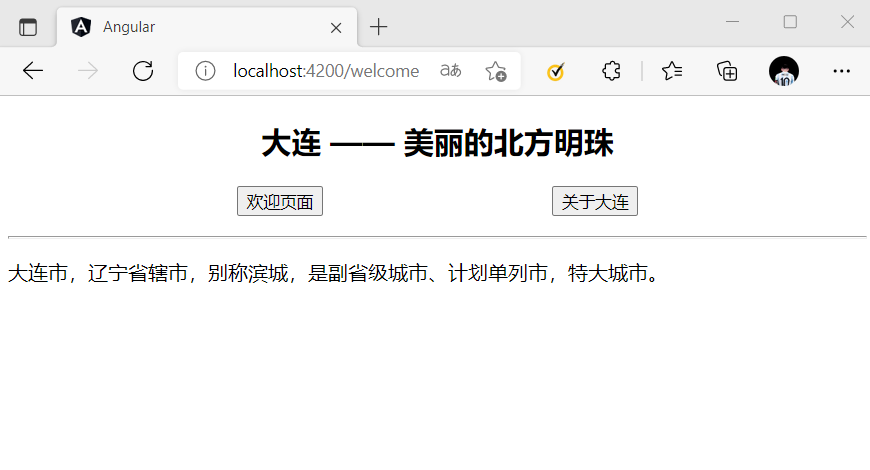
RouterLink 指令不局限于
<a>标签,它可以被应用在任何 html 标签上,比如常用的<button>。
例子:
// app.component.html
<p style="display: flex; justify-content: space-evenly;">
  <button [routerLink]="['/welcome']">欢迎页面</button>
  <button [routerLink]="['/about']">关于大连</button>
</p>
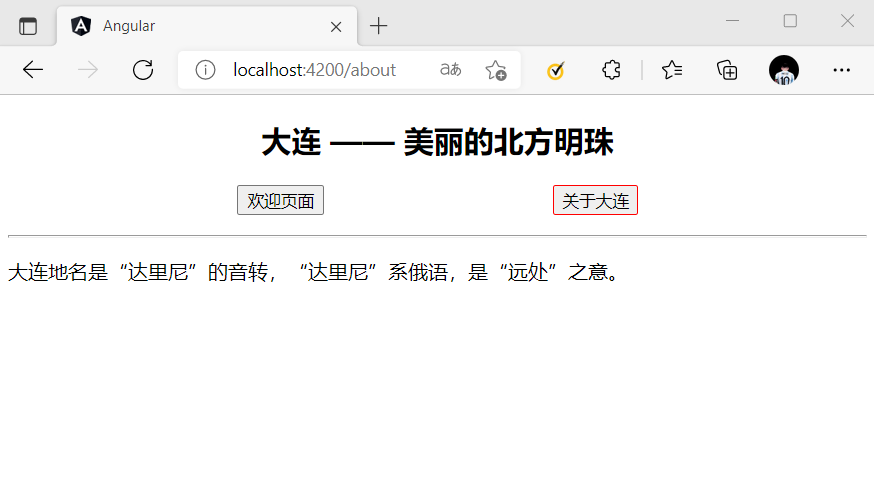
当 RouterLink 被激活时,可以通过 routerLinkActive 指令指定 CSS 类。
例子:
// app.component.scss
.active{
  border: 1px solid red;
}

// app.component.html
<p style="display: flex; justify-content: space-evenly;">
  <button [routerLink]="['/welcome']" [routerLinkActive]="['active']">欢迎页面</button>
  <button [routerLink]="['/about']" [routerLinkActive]="['active']">关于大连</button>
</p>
组件中的代码跳转
在组件中,通过 Router.navigate() 方法来完成跳转。
例子:
app.component.html
<p style="display: flex; justify-content: space-evenly;">
  <button (click)="toWelcome()">欢迎页面</button>
  <button (click)="toAbout()">关于大连</button>
</p>
app.component.ts
import { Component } from '@angular/core';

// 导入 Router 对象
import { Router } from '@angular/router';

@Component({
  selector: 'app-root',
  templateUrl: './app.component.html',
  styleUrls: ['./app.component.scss']
})
export class AppComponent {

  constructor(

    // 初始化 Router 对象
    private router: Router,
  ) { }

  // 跳转 welcome 页面
  toWelcome(){
    this.router.navigate(['/welcome']);
  }

  // 跳转 about 页面
  toAbout(){
    this.router.navigate(['/about']);
  }

}
路由传参
Angular 路由具有传递参数的功能,可以通过 URL 向目标组件传递数据。
路径参数
// 基本形式
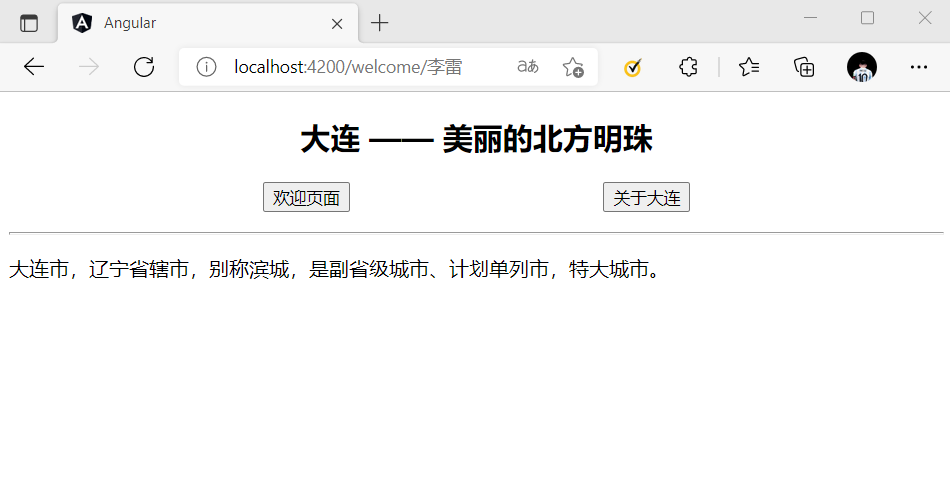
http://localhost:4200/welcome/李雷
路径参数,顾名思义,在配置路由的 path 属性时,可以在路径一段的前面添加冒号,表明这是一个参数。
// 在 path 下配置路由参数 name
{
  path: 'welcome/:name',
  component: WelcomeComponent
}
接下来,不管是手动输入 URL,还是通过 RouterLink,或者 Router.navigate() 完成跳转,都需要给参数 name 赋值。
[routerLink]="['/welcome','李雷']"
this.router.navigate(['/welcome','李雷']);
获取参数
为了使用路径参数,我们需要在目标组件中导入 ActivatedRoute 对象。
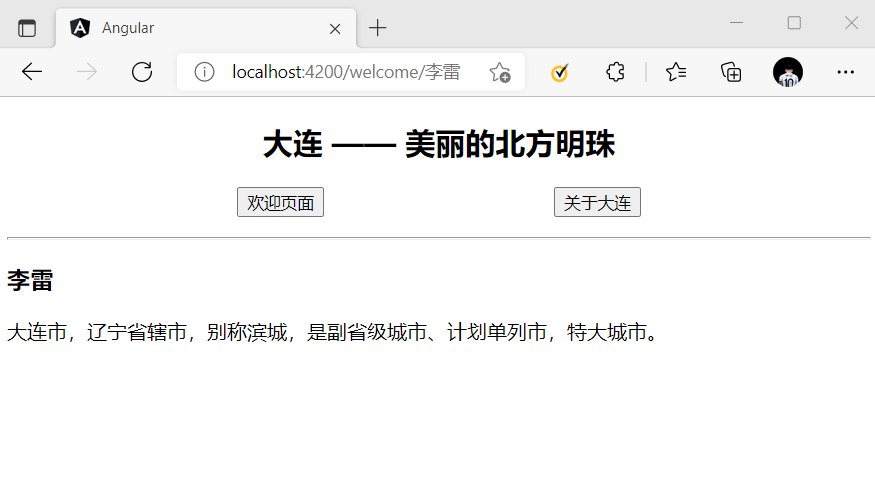
该 ActivatedRoute 对象包含了一个 params 参数订阅,可以从 URL 中解析出路径参数。
例子:
welcome.component.ts
import { Component, OnInit } from '@angular/core';

// 导入 ActivatedRoute
import { ActivatedRoute } from '@angular/router';

@Component({
  selector: 'app-welcome',
  templateUrl: './welcome.component.html',
  styleUrls: ['./welcome.component.scss']
})
export class WelcomeComponent implements OnInit {
  name!:string;

  constructor(

    // 初始化 ActivatedRoute
    private activedRoute: ActivatedRoute,
  ) { }

  ngOnInit() {

    // 使用参数订阅
    this.activedRoute.params.subscribe((params:any)=>{
      this.name = params['name'];
    });
  }

}
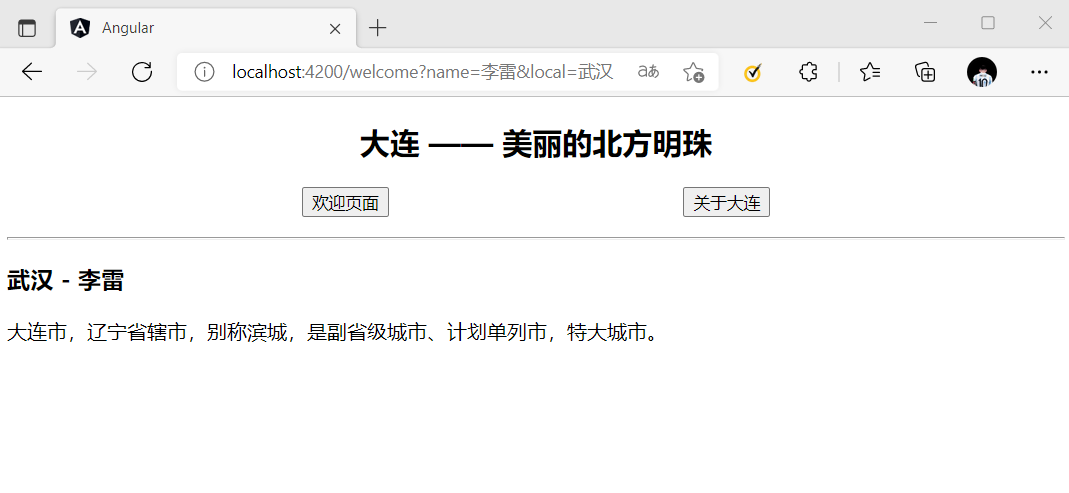
查询参数
// 基本形式
http://localhost:4200/welcome?name=李雷&local=武汉
查询参数无需在 path 属性中进行配置,而且可以拥有任意多个参数。
同样通过 RouterLink 或者 Router.navigate() 来赋值。
[routerLink]="['/welcome']" [queryParams]="{name:'李雷', local:'武汉'}"

this.router.navigate(
    ['/welcome'],
    {
      queryParams:{
        name:'李雷',
        local:'武汉'
      }
    }
  );
获取参数
通过 ActivatedRoute 对象的 queryParams 参数订阅,获取到查询参数。
this.activedRoute.queryParams.subscribe((queryParams:any)=>{
  this.name = queryParams['name'];
  this.local = queryParams['local'];
});
end

 随时随地看视频


