
课程名称:Spring入门
课程章节:第2章 使用Spring实例化Bean
课程讲师: 西昆仑
课程内容:
一、实例化Bean的方式
1、通过构造方法实例化Bean
//Bean1.class
public class Bean1 {
public Bean1(){
System.out.println("Bean1.Bean1");
}
}
//spring.xml
<bean class = "com.imooc.spring.ioc.class05.Bean1" id="bean1"/>
//Class005Test.clss
public void test(){
ApplicationContext context = new ClassPathXmlApplicationContext("spring.xml");
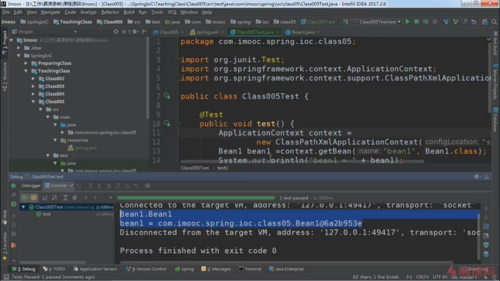
Bean1 bean1 = context.getBean("bean1",Bean1.class);
System.out.println("bean1="+bean1);
}
运行结果
2、通过静态方法实例化Bean
//Bean2.class
public class Bean2 {
public Bean2(){
System.out.println("Bean2.Bean2");
}
}
//Bean2Factory.class
public class Bean2Factory {
public static Bean2 getBean2(){
return new Bean2();
}
}
//spring.xml
<bean class = "com.imooc.spring.ioc.class05.Bean2Factory" factory-method = "getBean2" id="bean2"/>
//Class005Test.clss
public void test(){
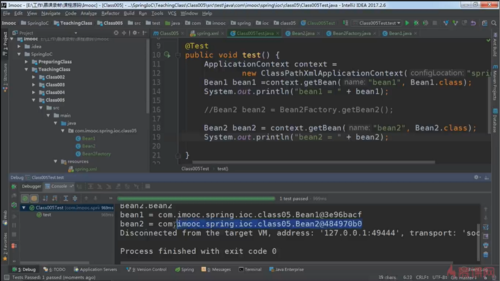
//Bean2 bean2 = Bean2Factory.getBean2();
ApplicationContext context = new ClassPathXmlApplicationContext("spring.xml");
Bean2 bean2 = context.getBean("bean2",Bean2.class);
}
运行结果
3、通过实例方法实例化Bean
//Bean3.class
public class Bean3 {
public Bean3(){
System.out.println("Bean3.Bean3");
}
}
//Bean3Factory.class
public class Bean3Factory {
public Bean3 getBean3(){
return new Bean3();
}
}
//spring.xml
<bean class = "com.imooc.spring.ioc.class05.Bean3Factory" id="bean3Factory"/>
<bean class = "com.imooc.spring.ioc.class05.Bean3" factory-bean = "bean3Factory" factory-method = "getBean3" id="bean3"/>
//Class005Test.clss
public void test(){
//Bean3Factory bean3Factory = new Bean3Factory();
//Bean3 bean3 = bean3Factory.getBean3();
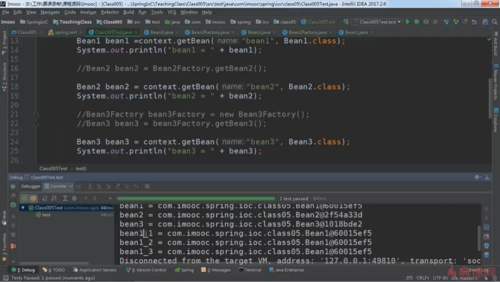
ApplicationContext context = new ClassPathXmlApplicationContext("spring.xml");
Bean3 bean3 = context.getBean("bean3",Bean3.class);
}
运行结果
4、Bean的别名
//spring.xml
<bean class="com.imooc.spring.ioc.class05.Bean1" name="bean1_1,bean1_2" id="bean1"/>
<alias name="bean1" alias="bean1_3"/> //只支持一个别名
//Class005Test.clss
public void test(){
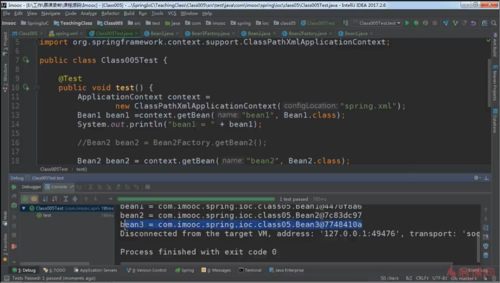
ApplicationContext context = new ClassPathXmlApplicationContext("spring.xml");
Bean1 bean1_1 = context.getBean("bean1_1",Bean1.class);
Bean1 bean1_2 = context.getBean("bean1_2",Bean1.class);
Bean1 bean1_3 = context.getBean("bean1_3",Bean1.class);
System.out.println("bean1="+bean1);
}
运行结果
二、注入Bean的方式
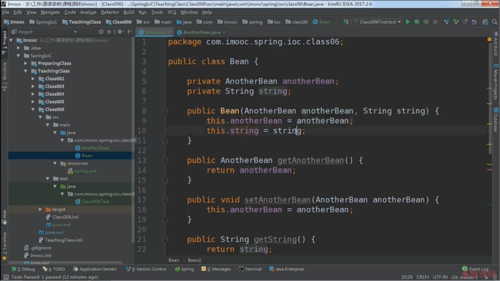
1、通过构造方法注入Bean
//Bean对象定义
《图片》
//spring.xml
<bean class="com.imooc.spring.ioc.class06.AnotherBean" id="anotherBean"/>
<bean class="com.imooc.spring.ioc.class06.Bean" id="bean">
<constructor-arg index="0" name="anotherBean" type="com.imooc.spring.ioc.class06.AnotherBean" ref="anotherBean"/>
<constructor-arg index="1" name="string" type="java.lang.String" value="aaaaa"/>
</bean>
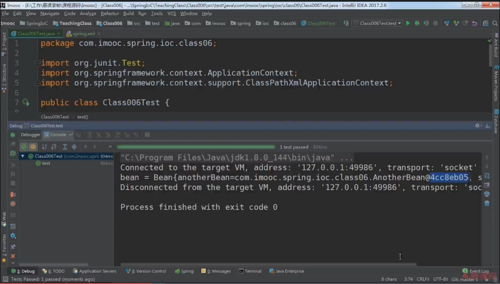
//Class006Test.clss
public void test(){
ApplicationContext context = new ClassPathXmlApplicationContext("spring.xml");
Bean bean = context.getBean("bean",Bean.class);
System.out.println("bean="+bean);
}
2、通过set方法注入Bean
//Bean对象定义
//spring.xml
<bean class="com.imooc.spring.ioc.class06.AnotherBean" id="anotherBean"/>
<bean class="com.imooc.spring.ioc.class06.Bean" id="bean">
<constructor-arg index="0" name="anotherBean" type="com.imooc.spring.ioc.class06.AnotherBean" ref="anotherBean"/>
<constructor-arg index="1" name="string" type="java.lang.String" value="aaaaa"/>
<property name="anotherBean1" ref="anotherBean"/>
<property name="string1" ref="bbbbb"/>
</bean>
运行结果
简化写法:
//spring.xml
<bean class="com.imooc.spring.ioc.class06.AnotherBean" id="anotherBean"/>
<bean class="com.imooc.spring.ioc.class06.Bean" id="bean">
c:anotherBean-ref="anotherBean" c:string="ccccc"
p:anotherBean1-ref="anotherBean" p:string="ddddd"/>
</bean>
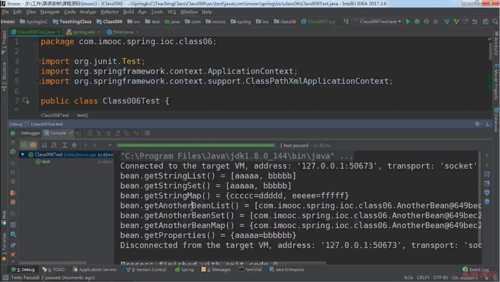
3、集合Bean的注入
//spring.xml
<bean class="com.imooc.spring.ioc.class06.Bean" id="bean">
<constructor-arg index="0" name="anotherBean" type="com.imooc.spring.ioc.class06.AnotherBean" ref="anotherBean"/>
<constructor-arg index="1" name="string" type="java.lang.String" value="aaaaa"/>
<property name="anotherBean1" ref="anotherBean"/>
<property name="string1" ref="bbbbb"/>
<property name="stringList">
<list>
<value>aaaaa</value>
<value>bbbbb</value>
</list>
</property>
<property name="anotherBeanList">
<list>
<ref bean="anotherBean"/>
<ref bean="anotherBean"/>
</list>
</property>
<property name="stringSet">
<set>
<value>aaaaa</value>
<value>bbbbb</value>
</set>
</property>
<property name="anotherBeanSet">
<set>
<ref bean="anotherBean"/>
<ref bean="anotherBean"/>
</set>
</property>
</bean>
运行结果
课程收获:
本节课程讲解了bean实例化及注入的方式,内容较容易理解,但各种方式对应的使用场景及优劣势还需继续摸索,期待后续的课程学习。


