Spring自动注入对象,通过Junit加载Spring容器测试自动注入。
1、创建接口对象CompactDisc
public interface CompactDisc {
    void play();
}
2、创建接口的实现类CDImpl
@Component注解告诉Spring容器创建这个Bean
@Component
public class CDImpl implements CompactDisc {
@Override
public void play() {
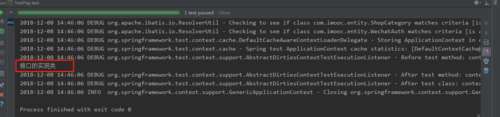
System.out.println("接口的实现类");
}
}
3、创建Spring配置信息
<?xml version="1.0" encoding="UTF-8"?>
<beans xmlns="http://www.springframework.org/schema/beans"
xmlns:xsi="http://www.w3.org/2001/XMLSchema-instance" xmlns:context="http://www.springframework.org/schema/context"
xmlns:mvc="http://www.springframework.org/schema/mvc"
xsi:schemaLocation="http://www.springframework.org/schema/beans
http://www.springframework.org/schema/beans/spring-beans.xsd
http://www.springframework.org/schema/context
http://www.springframework.org/schema/context/spring-context.xsd
http://www.springframework.org/schema/mvc
http://www.springframework.org/schema/mvc/spring-mvc-3.2.xsd">
<!--开启组件扫描,spring容器扫描指定的包,然后自动创建对象-->
<context:component-scan base-package="com.imooc.impl"/>
</beans>4、创建测试类
//junit启动时加载Spring的配置,整合Spring-junit
@RunWith(SpringJUnit4ClassRunner.class)
@ContextConfiguration({"classpath:spring/spring-autowire.xml"})
public class BaseTest {

}
public class TestPlay extends BaseTest{
//@Autowired注解将spring创建Bean注入到TestPlay这个对象中
@Autowired
private CDImpl cd;
@Test
public void test() {
cd.play();
}
}