
做一个关于Spring Springmvc Mybatis Redis Ehcache集成的简单CRUD的例子
- 在Eclipse中建立Dynamic web项目,并选择生成web.xml文件
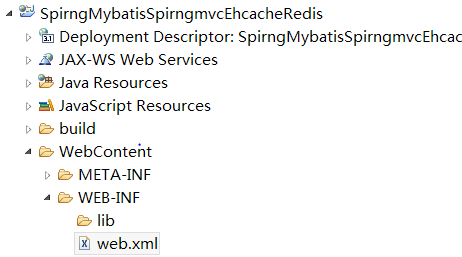
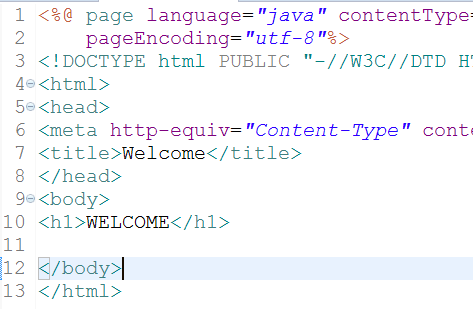
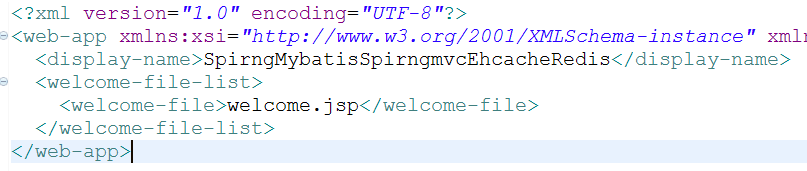
- 在webContent目录下新增welcome.jsp,在web.xml中修改welcome-file-list标签内容
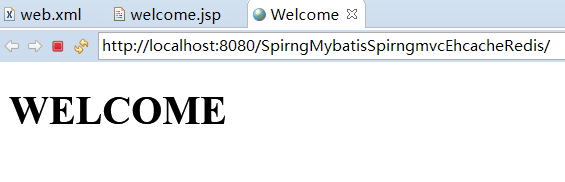
- 此时用Tomcat运行项目,可以看到网站中welcome的字样,一个简单的web项目成功搭建。


1.在WEB-INF/lib中放入用到的一些jar包

2.新建com.laozhang.entity包,新建2个JavaBean,Student类和Address类


3.在类名上加注@Component注解表示这是一个Spring组件,注解要用到Spring-context包

4.构建数据库,在MySQL中建立表结构如下图

Student表结构:

Address表结构:

- web.xml 的加载顺序是:ServletContext -> context-param -> listener -> filter -> servlet ,而同个类型之间的实际程序调用的时候的顺序是根据对应的 mapping 的顺序进行调用的。
修改web.xml,增加springDispatcherServlet,用到Spring-mvc包,<url-pattern>标签中"/"表示拦截所有请求,<param-value>classpath:spring-mvc.xml</param-value>表示引入classpath也就是src路径下的spring-mvc.xml文件<servlet> <servlet-name>springDispatcherServlet</servlet-name> <servlet-class>org.springframework.web.servlet.DispatcherServlet</servlet-class> <init-param> <param-name>contextConfigLocation</param-name> <param-value>classpath:spring-mvc.xml</param-value> </init-param> <load-on-startup>1</load-on-startup> </servlet> <servlet-mapping> <servlet-name>springDispatcherServlet</servlet-name> <url-pattern>/</url-pattern> </servlet-mapping>
2.web.xml中增加ContextLoaderListener,contextConfigLocation参数定义了要装入的 Spring 配置文件,如果想装入多个配置文件,可以在 <param-value>标记中用逗号作分隔符。
        <context-param>
        <param-name>contextConfigLocation</param-name>
        <param-value>classpath:spring-beans.xml</param-value>
    </context-param>

    <listener>
        <listener-class>org.springframework.web.context.ContextLoaderListener</listener-class>
    </listener>
3.web.xml中增加阿里的数据源druid相关配置来实行WEB方式监控配置。
Druid内置提供了一个StatViewServlet用于展示Druid的统计信息。
这个StatViewServlet的用途包括:提供监控信息展示的html页面,提供监控信息的JSON API。
使用StatViewServlet,建议使用druid 0.2.6以上版本
在项目的URL中加上druid/即可跳转到监控页面。
<filter>
        <filter-name>druidFilter</filter-name>
        <filter-class>com.alibaba.druid.support.http.WebStatFilter</filter-class>
        <init-param>
            <param-name>exclusion</param-name>
            <param-value>*.js,*.css,*.jsp</param-value>
        </init-param>
    </filter>
    <filter-mapping>
        <filter-name>druidFilter</filter-name>
        <url-pattern>/*</url-pattern>
    </filter-mapping>

    <servlet>
        <servlet-name>druidStatView</servlet-name>
        <servlet-class>com.alibaba.druid.support.http.StatViewServlet</servlet-class>
        <init-param>
            <param-name>resetEnable</param-name>
            <param-value>false</param-value>
        </init-param>
    </servlet>
    <servlet-mapping>
        <servlet-name>druidStatView</servlet-name>
        <url-pattern>/druid/*</url-pattern>
    </servlet-mapping>
4.处理字符集,同个filter之间的实际程序调用的时候的顺序是根据对应的 mapping 的顺序进行调用,所以encodingFilter要放在其他filter的前面。
        <filter>
        <filter-name>encodingFilter</filter-name>
        <filter-class>org.springframework.web.filter.CharacterEncodingFilter</filter-class>
        <init-param>
            <param-name>encoding</param-name>
            <param-value>UTF-8</param-value>
        </init-param>
        <init-param>
            <param-name>forceEncoding</param-name>
            <param-value>true</param-value>
        </init-param>
    </filter>
    <filter-mapping>
        <filter-name>encodingFilter</filter-name>
        <url-pattern>/*</url-pattern>
    </filter-mapping>
到此web.xml的配置告一段落。接下来就要建立相应的配置文件。
- 先建立在web.xml引用的spring-beans.xml和spring-mvc.xml,右击src,选新建文件的other,弹出对话框,选择Spring Bean Configuration File,如图中所示
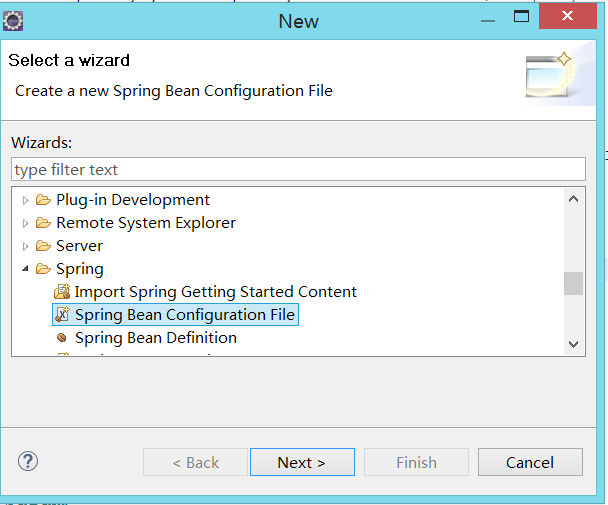
点击next,输入文件名后点击finish即可建立一个新的Springxml配置文件。
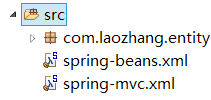
用上面的方法在src目录下建立spring-beans.xml和spring-mvc.xml
2.在src目录下新建db.properties文件,里面记录数据库连接信息,写一些简单的必需信息
properties Java文档


driver=com.mysql.jdbc.Driver
url=jdbc\:mysql\://localhost\:3306/sss
user=root
password=root
3.编辑spring-beans.xml
<!-- 引入db.properties文件 -->
    <context:property-placeholder location="classpath:db.properties" />

    <!-- druid 数据源 -->
    <bean id="dataSource" class="com.alibaba.druid.pool.DruidDataSource"
        init-method="init" destroy-method="close">
        <!-- 基本配置项 -->
        <property name="driverClassName" value="${db.driver}"></property>
        <property name="url" value="${db.url}"></property>
        <property name="username" value="${db.user}"></property>
        <property name="password" value="${db.password}"></property>
        <!-- 配置初始化大小、最小、最大 -->
        <property name="initialSize" value="1" />
        <property name="minIdle" value="1" />
        <property name="maxActive" value="20" />

        <!-- 配置获取连接等待超时的时间 -->
        <property name="maxWait" value="60000" />

        <!-- 配置间隔多久才进行一次检测,检测需要关闭的空闲连接,单位是毫秒 -->
        <property name="timeBetweenEvictionRunsMillis" value="60000" />

        <!-- 配置一个连接在池中最小生存的时间,单位是毫秒 -->
        <property name="minEvictableIdleTimeMillis" value="300000" />

        <property name="validationQuery" value="SELECT 'x'" />
        <property name="testWhileIdle" value="true" />
        <property name="testOnBorrow" value="false" />
        <property name="testOnReturn" value="false" />

        <!-- 配置监控统计拦截的filters -->
        <property name="filters" value="stat" />
    </bean>
<待续>...


