欢迎光临 👋
在本文中,我们将使用 Jetpack Compose 创建一个吸引人的 脉冲特效。这绝对是个瞄准用户注意力的好办法 🎯
激动吗?🤩 就让我们开始吧 🚀👇
由 Kappdev
定义脉冲效果修改器咱们从定义一下 pulseEffect 函数开始:
    @Composable
    fun Modifier.pulseEffect(
        targetScale: Float = 1.5f,
        initialScale: Float = 1f,
        brush: Brush = SolidColor(Color.Black.copy(0.32f)),
        shape: Shape = CircleShape,
        animationSpec: DurationBasedAnimationSpec<Float> = tween(1200)
    ): Modifier {
        // 脉冲效果实现...
}💗 **目标尺度** 👉 指定脉冲效果将增长到的尺度
💗 **初始尺度** 👉 定义脉冲效果的初始尺度。
💗 **刷** 👉 用于填充脉冲效果的工具.
💗 **形状** 👉 心脉冲效果的形态
💗 **动画规格** 👉 用于控制效果的动画规格
在这部分,我们将一步步来看如何实现 pulseEffect 修改器函数。
首先,我们定义一个无限动画过渡:
val pulseTransition = rememberInfiniteTransition("脉冲变换")通过这个过渡效果,我们创建了两个动画。
● **缩放脉冲**➜ 动画缩放脉冲从初始大小变化到目标大小并循环执行:
    val pulseScale by pulseTransition.animateFloat(
        initialValue = initialScale,
        targetValue = targetScale,
        animationSpec = infiniteRepeatable(animationSpec),
        label = "脉冲缩放"
    )
由 Kappdev 发布 Kappdev
● **pulseAlpha**➜ 动画化效果的透明度(alpha),从 1f 到 0f 并不断重复地:
    val pulseAlpha by pulseTransition.animateFloat(
        initialValue = 1f,
        targetValue = 0f,
        animationSpec = 无限循环(动画规范),
        label = "脉冲Alpha"
    )
[Kappdev] 发布
效果图最后,我们返回这个 **this** Modifier,并使用 drawBehind 来绘制脉冲特效:
    return this.drawBehind {
        // 将当前对象的形状转换为 Outline
        val outline = shape.createOutline(size, layoutDirection, this)
        // 调整缩放
        scale(pulseScale) {
            // 画出形状轮廓
            drawOutline(outline, color, pulseAlpha)
        }
}虽然 pulseEffect 效果本身就很吸引人,但将两个脉冲效果组合成一个动画效果,会带来更吸引人的视觉效果。
让生活更轻松,代码更简洁,这里有个额外的修饰符。
    @Composable  // 可组合函数注解 (Annotation for composable function)
    fun Modifier.doublePulseEffect(  // 双脉冲效果方法 (Method for double pulse effect)
        targetScale: Float = 1.5f,  // 目标缩放比例,默认为1.5f (Target scale ratio, default is 1.5f)
        initialScale: Float = 1f,  // 初始缩放比例,默认为1f (Initial scale ratio, default is 1f)
        brush: Brush = SolidColor(Color.Black.copy(0.32f)),  // 刷子对象,用于绘制效果,默认为半透明的黑色 (Brush object for drawing effect, default is semi-transparent black)
        shape: Shape = CircleShape,  // 形状,默认为圆形 (Shape, default is a circle)
        duration: Int = 1200,  // 动画持续时间,默认为1200毫秒 (Animation duration, default is 1200 milliseconds)
    ): Modifier {
        return this
            .pulseEffect(  // 脉冲效果 (Pulse effect)
                targetScale, initialScale, brush, shape,
                animationSpec = tween(duration, easing = FastOutSlowInEasing)  // tween动画参数设置,快速开始缓慢结束的缓动函数 (tween animation parameter settings, Fast-out slow-in easing function)
            )
            .pulseEffect(  // 脉冲效果 (Pulse effect)
                targetScale, initialScale, brush, shape,
                animationSpec = tween(
                    durationMillis = (duration * 0.7f).toInt(),  // 第二次脉冲动画的持续时间为总持续时间的70% (Second pulse animation duration is 70% of total duration)
                    delayMillis = (duration * 0.3f).toInt(),  // 延迟为总持续时间的30% (Delay is 30% of total duration)
                    easing = LinearEasing  // 线性缓动函数 (Linear easing function)
                )
            )
    }
恭喜!我们成功建好了它 🥳👏。您可以在 GitHub Gist 上找到完整代码(包括额外的 Color 方法) 🧑💻。让我们来看一个实际的例子吧 👇
在这个部分,咱们将考虑它如何使用这三个简单的例子。
默认使用方法📢 此效果在应用于如按钮之类的交互组件时可能会显得意外。
🕵 问题的原因是这些组件使用了
_minimumInteractiveComponentSize_修饰符,导致如果按钮的大小小于_48.dp_,效果仍会被绘制为_48.dp_,造成大小不匹配。💡 解决方案是通过应用自定义大小修饰符来调整组件的大小。
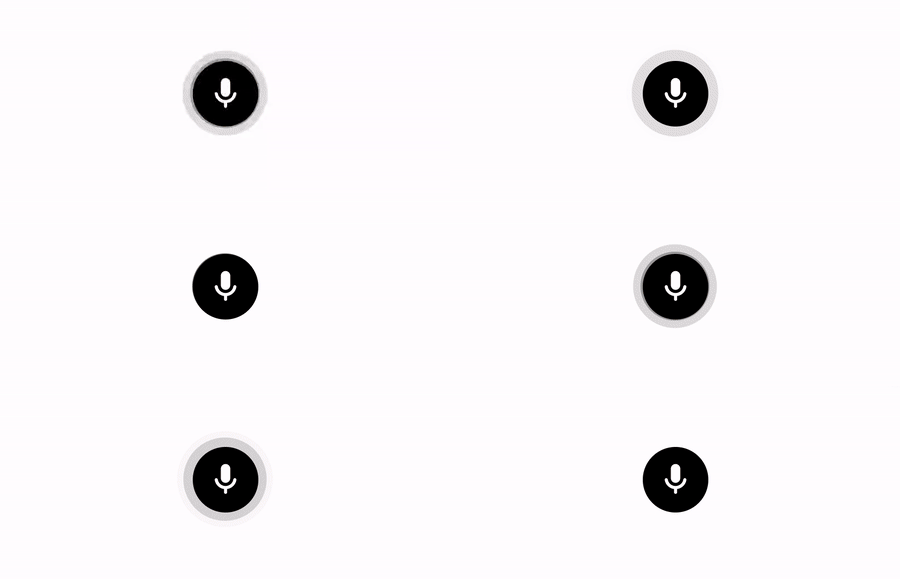
    FilledIconButton(
        onClick = { /*待办事项*/ },
        colors = IconButtonDefaults.filledIconButtonColors(
            containerColor = Color.Black,
            contentColor = Color.White
        ),
        modifier = Modifier.doublePulseEffect().size(42.dp)
    ) {
        Icon(Icons.Rounded.Mic, null)
    }
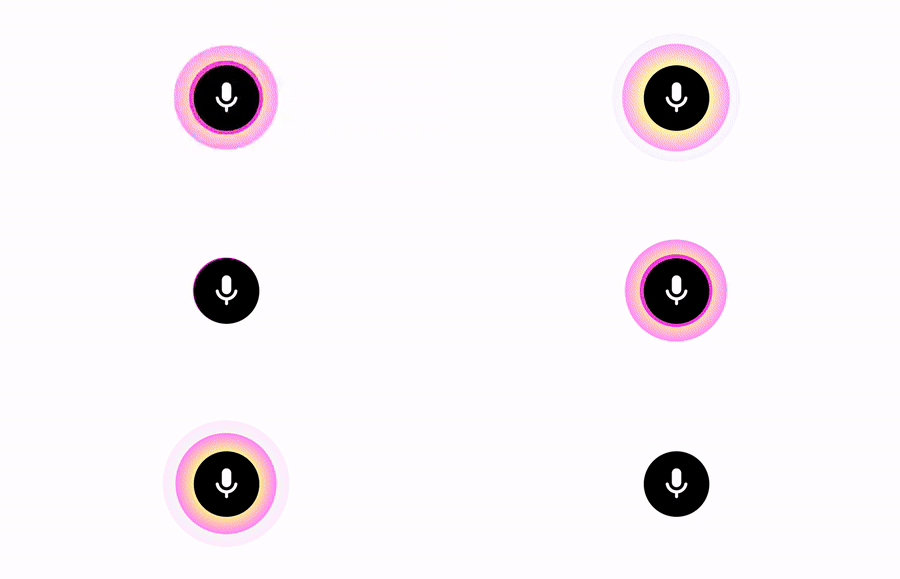
    填充图标按钮(
        onClick = { /*待办事项*/ },
        颜色 = IconButtonDefaults.填充图标按钮颜色(
            容器颜色 = 颜色黑色,
            内容颜色 = 颜色白色
        ),
        修改器 = Modifier
            .双脉冲效果(
                目标缩放 = 2f,
                刷 = 刷径向渐变(
                    0.6f to 颜色黄色,
                    1f to 颜色洋红,
                )
            )
            .大小(42.dp)
    ) {
        图标(Icons.Rounded.Mic, null)
    }
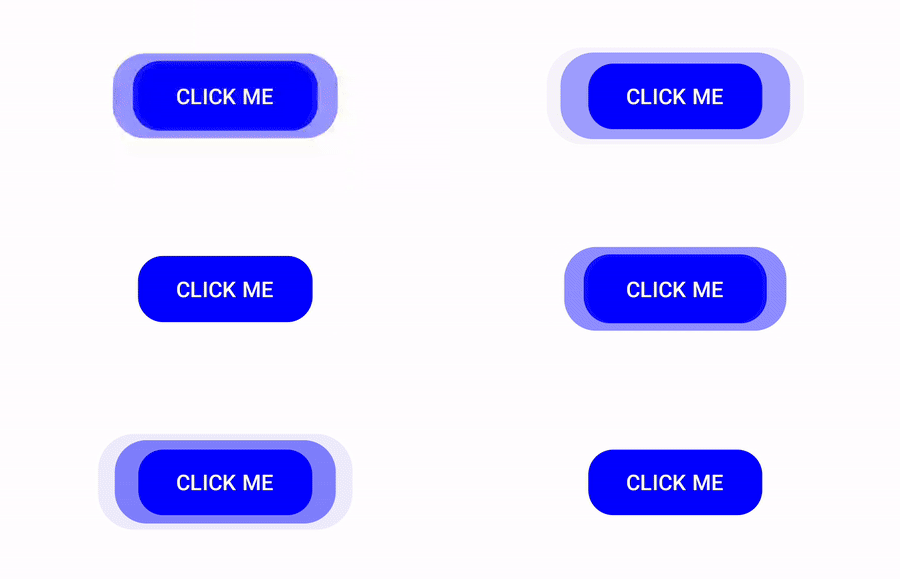
    按钮(
        onClick = { /*TODO*/ },
        shape = RoundedCornerShape(16.dp),
        colors = ButtonDefaults.buttonColors (
            containerColor = Color.Blue,
            contentColor = Color.White
        ),
        modifier = Modifier
            .doublePulseEffect (
                brush = SolidColor(Color.Blue),
                shape = RoundedCornerShape(16.dp)
            )
            .height(42.dp)
    ) {
        点击我
    }
如果你想(可选地)显示这种效果,可以使用状态变量和 then 修饰符结合来实现。
    var showPulse by remember { mutableStateOf(true) }

    Button(
        // 其他参数
        onClick = { showPulse = !showPulse },
        modifier = Modifier.then(
            if (showPulse) Modifier.双脉冲效果() else Modifier
        )
    ) { // 内容 }

Kappdev (Kappdev 是一个用户名)
自定义加载组件 | Jetpack Compose7个故事哦
感谢你读了这篇文章! ❤️ 如果你觉得它既有趣又有用,可以为它鼓掌👏来表达你的喜爱,并关注Kappdev以获取更多有趣的文章 😊

 随时随地看视频


