这次的博客文章是基于上一篇博客 SpringBoot与缓存使用及原理(上) 及 SpringBoot与缓存使用及原理(上)
一 环境准备
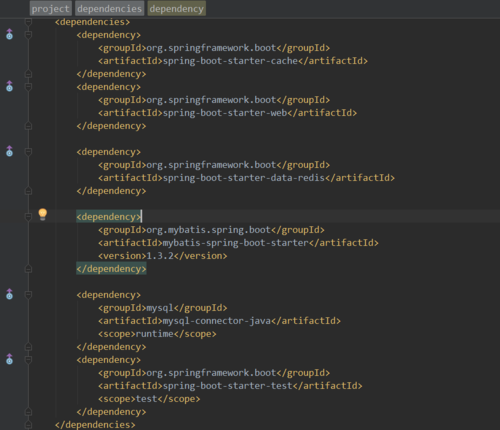
pom.xml文件中导入spring-boot-starter-cache,我这里是使用了redis做为缓存
<dependencies>
   <dependency>
      <groupId>org.springframework.boot</groupId>
      <artifactId>spring-boot-starter-cache</artifactId>
   </dependency>
   <dependency>
      <groupId>org.springframework.boot</groupId>
      <artifactId>spring-boot-starter-web</artifactId>
   </dependency>
</dependencies>

二 Spring-boot-starter-cache运行流程
今天我们来探索下SpringBoot中的缓存原理,首先我们看看pom.xml文件

可以看到我用的spring-boot-starter-cache是 1.5.13.RELEASE,接着看下maven导入的配置


每次启动项目的时候Springboot会自动为我们导入
org.springframework.boot.autoconfigure.cache.CacheAutoConfiguration
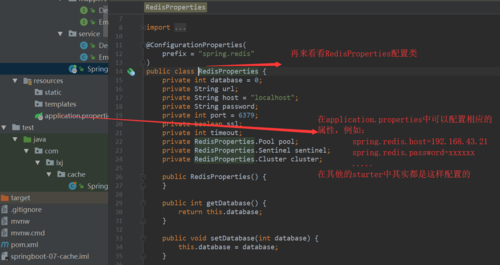
在org.springframework.boot.autoconfigure.data.redis.RedisAutoConfiguration中可以看到


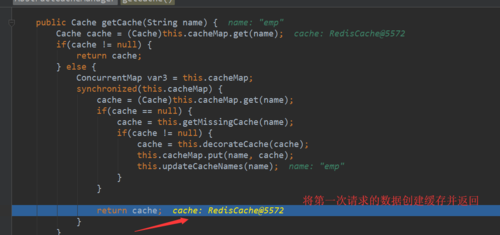
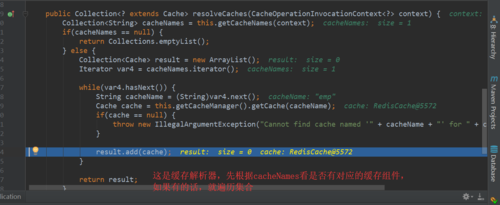
接下来开始debug:


继续debug下去


这时控制台打印出了从数据库中获取的数据:
![]()
再来发送一次请求 http://localhost:8080/emp/1


可以看到第二次从缓存中获取数据,并且将缓存数据进行返回


然后下面就正式开始执行目标方法了

到这里就可以发现,没有去走service调用数据库的那条路线,后面的方法就是一些代理及转发等操作,spring底层原理相关就不看源码了。


 随时随地看视频


