1 概述
利用Python生成简单的词云,需要的工具是cython,wordcloud与anaconda.
2 准备工作
包括安装cython,wordcloud与anaconda.
2.1 安装anaconda
下载官网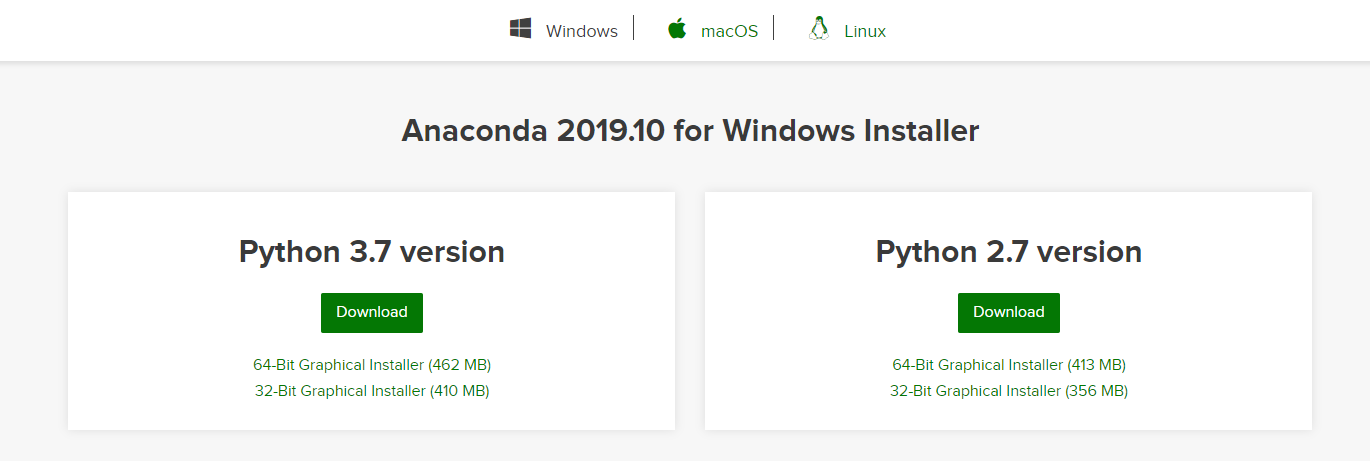
选择对应的版本下载即可.
2.2 安装cython
cython是为了安装wordcloud准备的.
pip -m pip install --upgrade cython

2.3 安装wordcloud
安装wordcloud前需要先安装Microsoft Visuall C++ 14.0.
这里下载
安装好了以后重启,输入
python -m easy_install wordcloud

3 使用
3.1 打开Jupyter
打开Jupyter Notebook.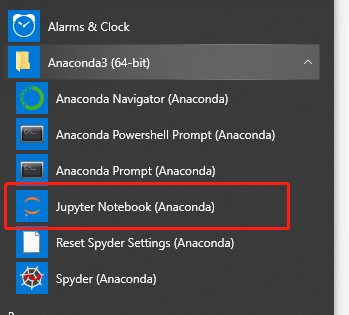
然后会在浏览器打开这个页面,新建一个notebook.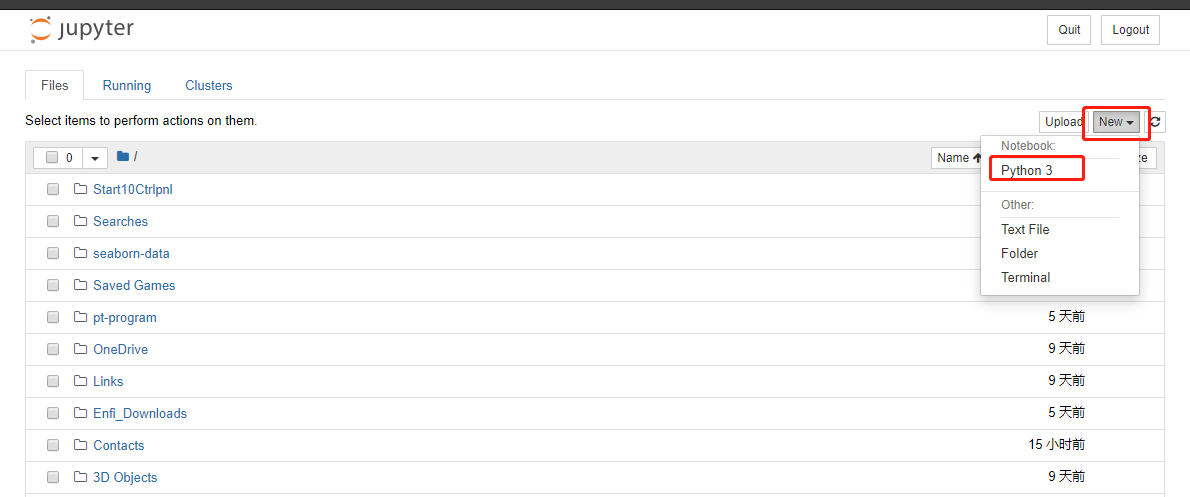
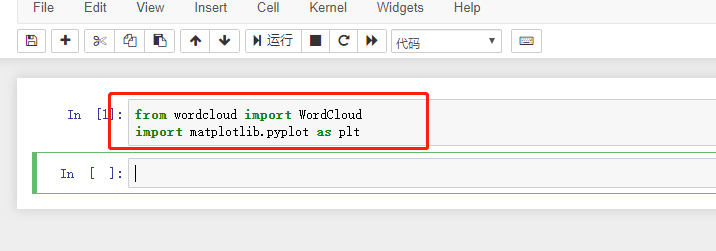
先把需要的库导入:
from wordcloud import WordCloud
import matplotlib.pyplot as plt
3.2 创建文字库
简单的文字库可以直接选择一个txt文件,复杂的话可以选择创建一个excel,导出为csv文件,然后利用pandas库的read_csv()读入文件.这里创建一个txt,空格分隔单词即可.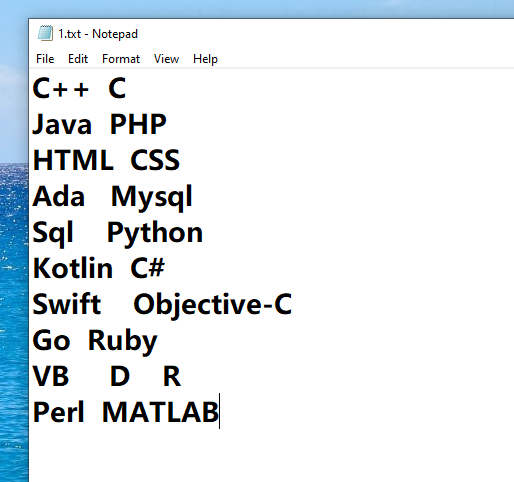
然后上传到Jupyter中:
3.3 生成词云
首先读入文件:
text = open('1.txt').read()
然后使用WordCloud().generate(text),在里面设置各种属性.
wc=WordCloud(
    width=800,
    repeat=True,
    height=800).generate(text)
这里设置了高度与宽度,允许重复.
plt.imshow(wc,interpolation="bilinear")
plt.axis("off")
plt.show()
显示词云,
interpolation='bilinear'
会使显示平滑更加平滑,axis(“off”)表示不显示坐标轴.
下面是效果: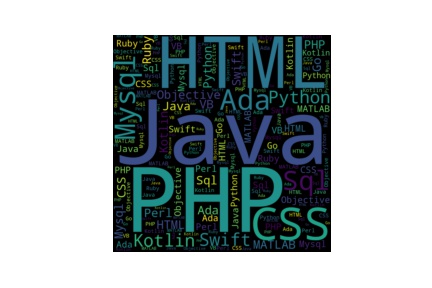
3.4 注意事项
如果含有汉字,首先在读取时设置编码:
text = open('1.txt',encoding='utf-8')
然后再生成词云时设置字体:
wc = WordCloud(font_path=r'C:\Windows\Fonts\simfang.ttf')
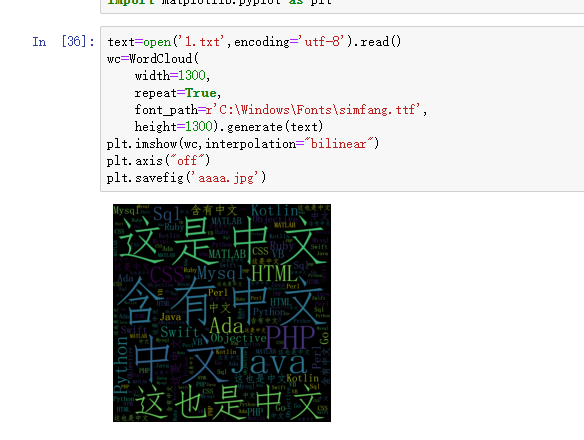
测试: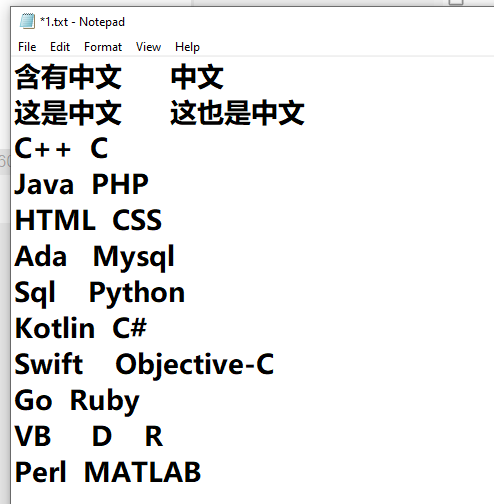
text=open('1.txt',encoding='utf-8').read()
wc=WordCloud(
    width=1300,
    repeat=True,
    font_path=r'C:\Windows\Fonts\simfang.ttf',
    height=1300).generate(text)
plt.imshow(wc,interpolation="bilinear")
plt.axis("off")
plt.savefig('aaaa.jpg')


 随时随地看视频


