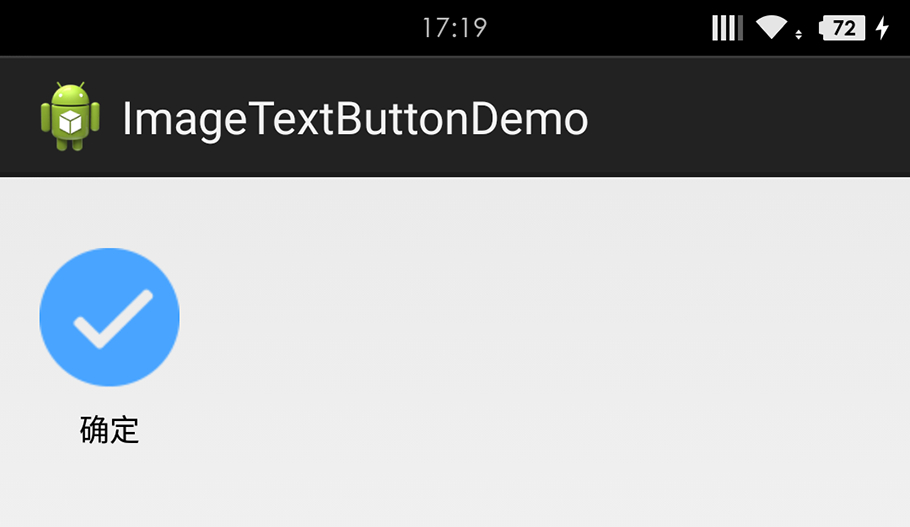
今天我们来讲一下有关自定义控件的问题,今天讲的这篇是从布局自定义开始的,难度不大,一看就明白,估计有的同学或者开发者看了说,这种方式多此一举,但是小编我不这么认为,多一种解决方式,就多一种举一反三的学习。下一次或者过几天我会从自定义属性,在布局文件中使用属性的方式再讲一篇关于自定义控件的文章,希望对大家能够有所帮助。
现在开始讲自定义带图片和文字的ImageTextButton的实现方法。
效果图如下:
第一步:新建一个image_text_buttton.xml的布局文件,供自定义的控件使用。
<?xml version="1.0" encoding="utf-8"?>
<LinearLayout xmlns:android="http://schemas.android.com/apk/res/android"
android:layout_width="wrap_content"
android:layout_height="wrap_content"
android:orientation="vertical" >
<ImageView
android:id="@+id/iv"
android:layout_width="wrap_content"
android:layout_height="wrap_content"
android:layout_gravity="center_horizontal"
android:layout_marginTop="12dp" />
<TextView
android:id="@+id/tv"
android:layout_width="wrap_content"
android:layout_height="wrap_content"
android:layout_gravity="center_horizontal"
android:layout_marginTop="8dp"
android:textColor="#000000" />
</LinearLayout>
第二步:自定义一个类ImageTextButton继承LinearLayout
package net.loonggg.itbd.view;
import net.loonggg.itbd.R;
import android.content.Context;
import android.util.AttributeSet;
import android.view.LayoutInflater;
import android.widget.ImageView;
import android.widget.LinearLayout;
import android.widget.TextView;
public class ImageTextButton extends LinearLayout {
private ImageView iv;
private TextView tv;
public ImageTextButton(Context context) {
super(context);
}
public ImageTextButton(Context context, AttributeSet attrs) {
super(context, attrs);
LayoutInflater.from(context).inflate(R.layout.image_text_buttton, this,
true);
iv = (ImageView) findViewById(R.id.iv);
tv = (TextView) findViewById(R.id.tv);
}
public void setDefaultImageResource(int resId) {
iv.setImageResource(resId);
}
public void setDefaultTextViewText(String text) {
tv.setText(text);
}
/**
* @param resId
*/
public void setImageResource(int resId) {
iv.setImageResource(resId);
}
/**
* @param text
*/
public void setTextViewText(String text) {
tv.setText(text);
}
/**
* @param color
*/
public void setTextColor(int color) {
tv.setTextColor(color);
}
}
第三步:自定义控件的使用,在布局文件activity_main.xml中的使用
<RelativeLayout xmlns:android="http://schemas.android.com/apk/res/android"
xmlns:tools="http://schemas.android.com/tools"
android:layout_width="match_parent"
android:layout_height="match_parent"
android:paddingBottom="@dimen/activity_vertical_margin"
android:paddingLeft="@dimen/activity_horizontal_margin"
android:paddingRight="@dimen/activity_horizontal_margin"
android:paddingTop="@dimen/activity_vertical_margin"
tools:context=".MainActivity" >
<net.loonggg.itbd.view.ImageTextButton
android:id="@+id/itb"
android:layout_width="wrap_content"
android:layout_height="wrap_content" />
</RelativeLayout>
第四步:在Activiy中的使用
public class MainActivity extends Activity {
private ImageTextButton itb;
@Override
protected void onCreate(Bundle savedInstanceState) {
super.onCreate(savedInstanceState);
setContentView(R.layout.activity_main);
itb = (ImageTextButton) findViewById(R.id.itb);
itb.setImageResource(R.drawable.sure);
itb.setTextViewText("确定");
}
}


 随时随地看视频


