IPTABLES
IPTABLES 是与最新的 3.5 版本 Linux 内核集成的 IP 信息包过滤系统。如果 Linux 系统连接到因特网或 LAN、服务器或连接 LAN 和因特网的代理服务器, 则该系统有利于在 Linux 系统上更好地控制 IP 信息包过滤和防火墙配置。
防火墙在做信息包过滤决定时,有一套遵循和组成的规则,这些规则存储在专用的信 息包过滤表中,而这些表集成在 Linux 内核中。在信息包过滤表中,规则被分组放在我们所谓的链(chain)中。而netfilter/iptables IP 信息包过滤系统是一款功能强大的工具,可用于添加、编辑和移除规则。
Iptables 是用来设置、维护和检查Linux内核的IP包过滤规则的
一·iptables的开启服务
[root@localhost ~]# systemctl stop firewalld ##关闭火墙[root@localhost ~]# systemctl disable firewalld ##开机自动关闭[root@localhost ~]# systemctl start iptables.service ##开启iptables服务[root@localhost ~]# systemctl enable iptables.service ##开机自动开启

二·iptables的基本命令
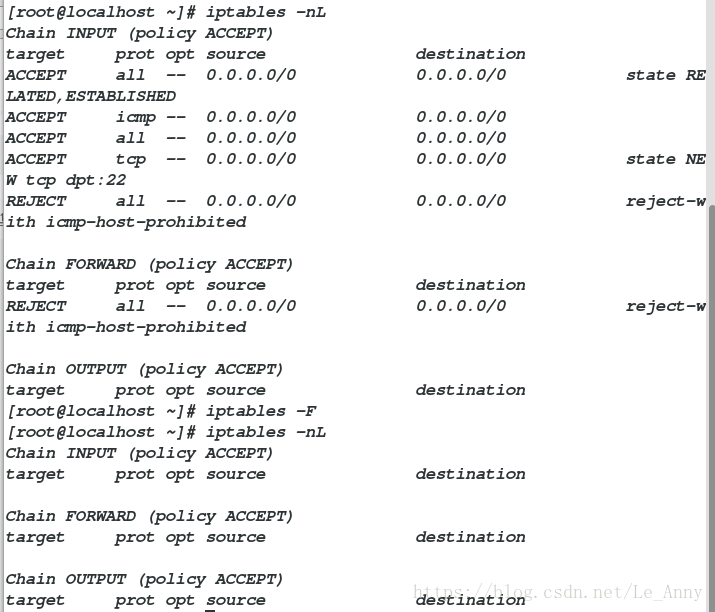
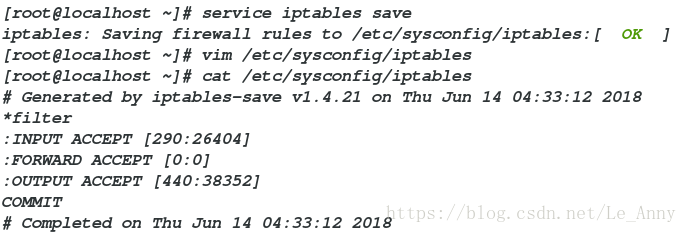
[root@localhost ~]# iptables -nL ##列出所有策略[root@localhost ~]# iptables -F ##清空所有策略[root@localhost ~]# iptables -nL ##再次列出[root@localhost ~]# service iptables save ##保存规则信息iptables: Saving firewall rules to /etc/sysconfig/iptables:[ OK ] ##保存在/etc/sysconfig/iptables 文件中[root@localhost ~]# cat /etc/sysconfig/iptables ##查看iptables配置文件
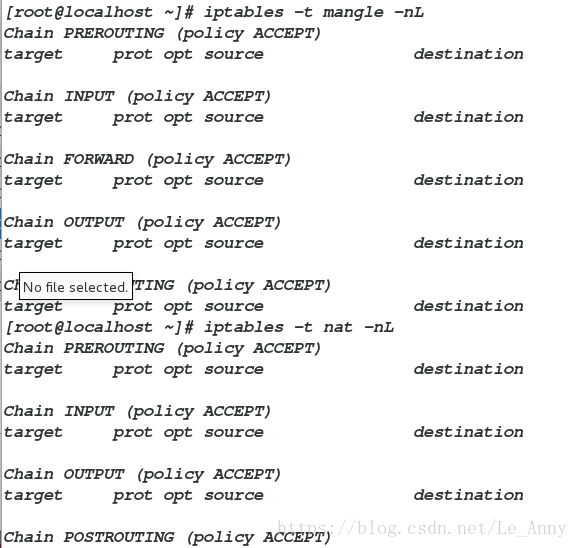
[root@localhost ~]# iptables -t mangle -nL ##查看mangle表策略[root@localhost ~]# iptables -t nat -nL ##查看nat表策略
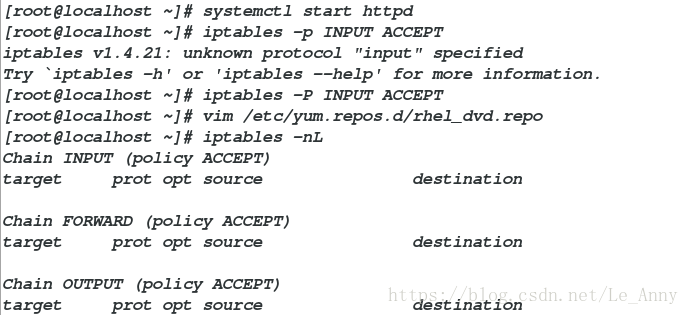
[root@localhost ~]# systemctl start httpd ##开启服务[root@localhost ~]# iptables -P INPUT ACCEPT ##允许访问[root@localhost ~]# iptables -nL ##列出
真机测试: 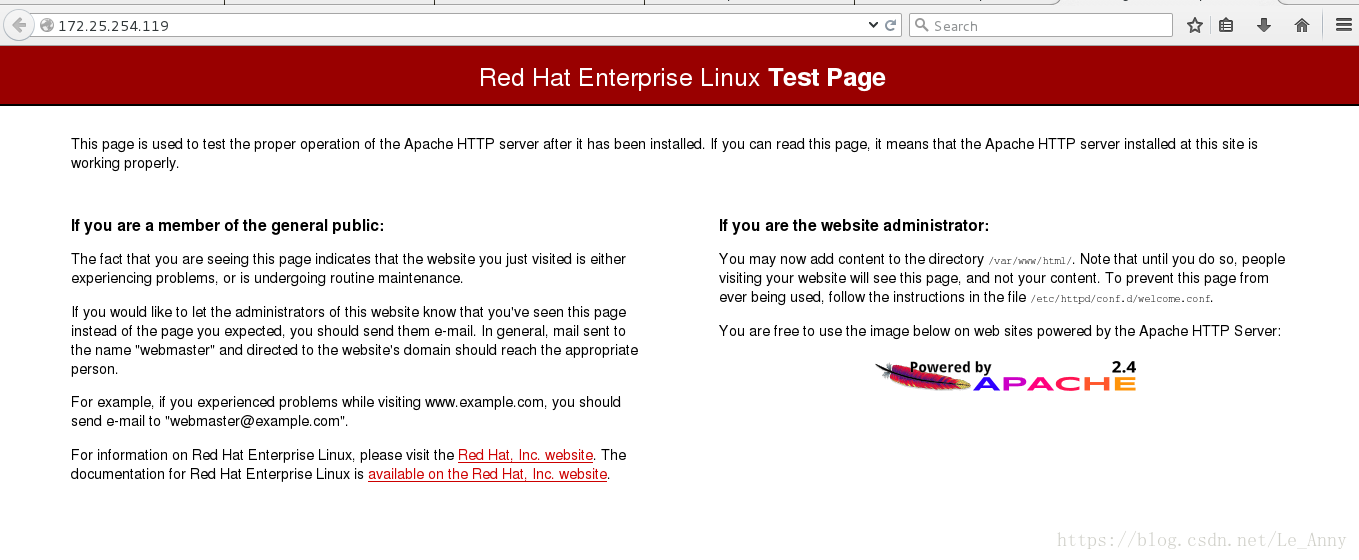
server测试: 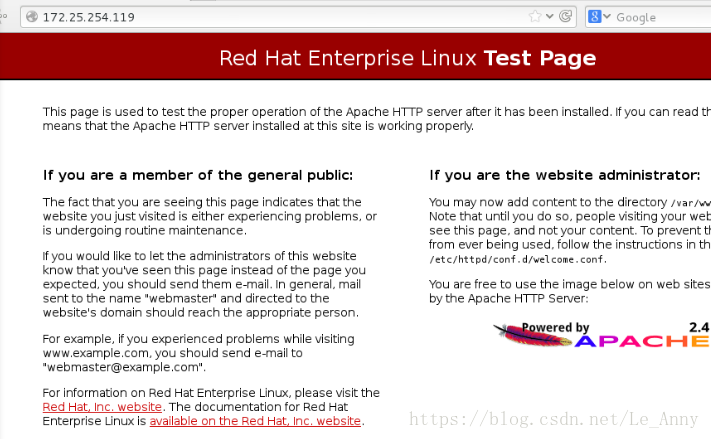
[root@localhost ~]# iptables -A INPUT -s 172.25.254.71 -p tcp --dport 80 -j ACCEPT ##允许真机ip访问,端口为80的http[root@localhost ~]# iptables -nLACCEPT tcp -- 172.25.254.71 0.0.0.0/0 tcp dpt:80[root@localhost ~]# iptables -A INPUT -p tcp --dport 80 -j REJECT ##拒绝端口为80的http[root@localhost ~]# iptables -nLREJECT tcp -- 0.0.0.0/0 0.0.0.0/0 tcp dpt:80 reject-with icmp-port-unreachable
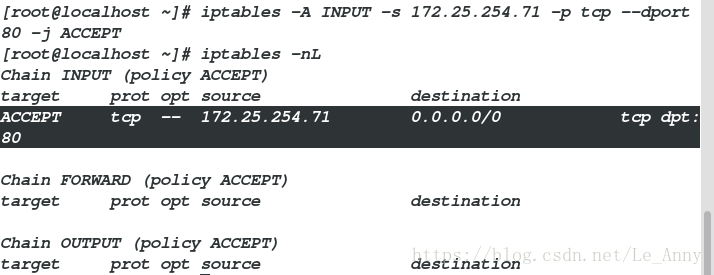

真机测试: 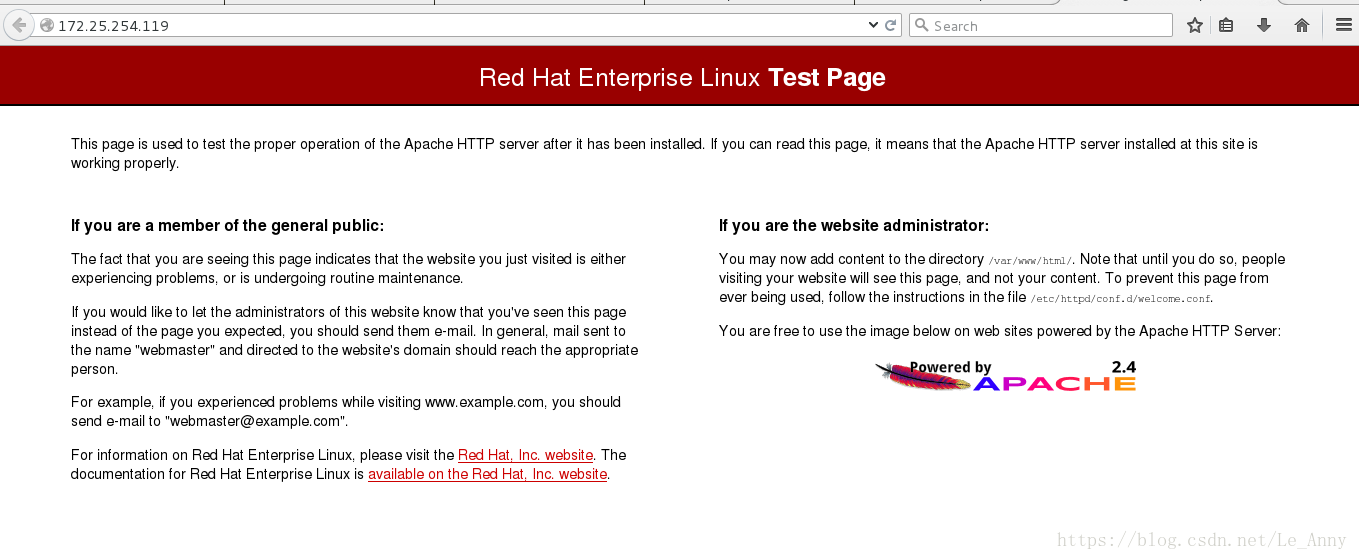
server测试: 
三·iptables的常规配置
对第一次访问的请求读取允许连接的策略,当第二次访问或者之后访问的直接接受请求,不读取允许连接的策略,以便节省时间
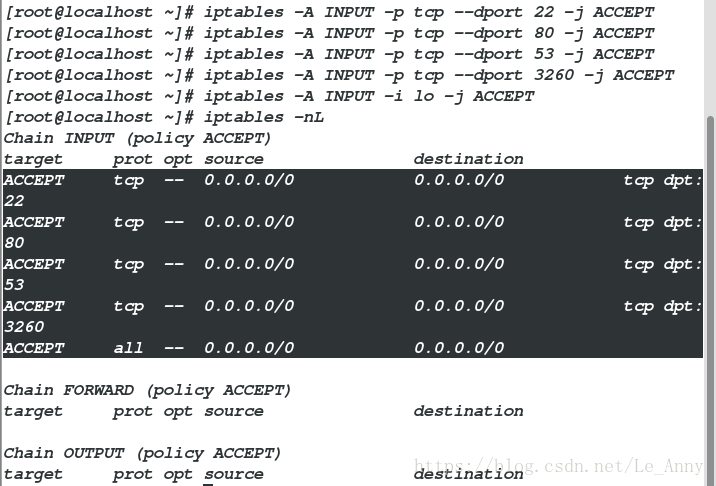
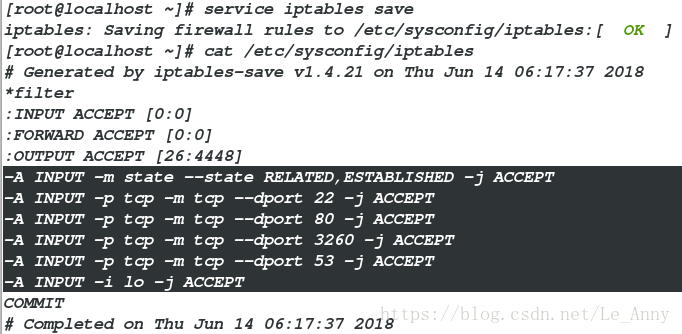
[root@localhost ~]# iptables -A INPUT -p tcp --dport 22 -j ACCEPT    ##添加ssh的端口为接受[root@localhost ~]# iptables -A INPUT -p tcp --dport 80 -j ACCEPT    ##添加http的端口为接受[root@localhost ~]# iptables -A INPUT -p tcp --dport 53 -j ACCEPT    ##添加dns的端口为接受[root@localhost ~]# iptables -A INPUT -p tcp --dport 3260 -j ACCEPT  ##添加iscsi的端口为接受[root@localhost ~]# iptables -A INPUT -i lo -j ACCEPT    ##本机回环[root@localhost ~]# iptables -nL       ##查看策略ACCEPT     tcp  --  0.0.0.0/0            0.0.0.0/0            tcp dpt:22ACCEPT     tcp  --  0.0.0.0/0            0.0.0.0/0            tcp dpt:80ACCEPT     tcp  --  0.0.0.0/0            0.0.0.0/0            tcp dpt:53ACCEPT     tcp  --  0.0.0.0/0            0.0.0.0/0            tcp dpt:3260ACCEPT     all  --  0.0.0.0/0            0.0.0.0/0                    [root@localhost ~]# service iptables save   ##保存iptables: Saving firewall rules to /etc/sysconfig/iptables:[  OK  ]
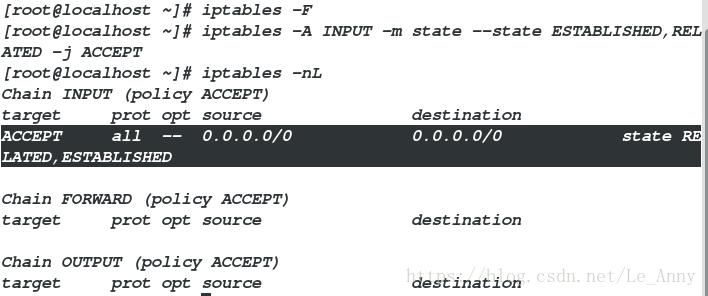
[root@localhost ~]# cat /etc/sysconfig/iptables    ##查看[root@localhost ~]# iptables -F     ##清空策略[root@localhost ~]# iptables -A INPUT -m state --state ESTABLISHED,RELATED -j ACCEPT      ##将已经建立的和正在进行的设置允许访问[root@localhost ~]# iptables -nL      ##查看策略 ACCEPT     all  --  0.0.0.0/0            0.0.0.0/0            state RELATED,ESTABLISHED
四·iptables的地址伪装
在desktop中:
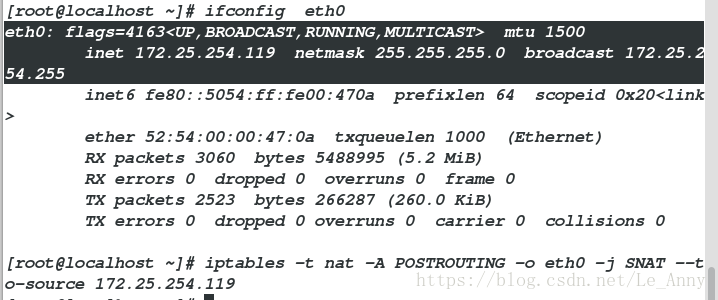
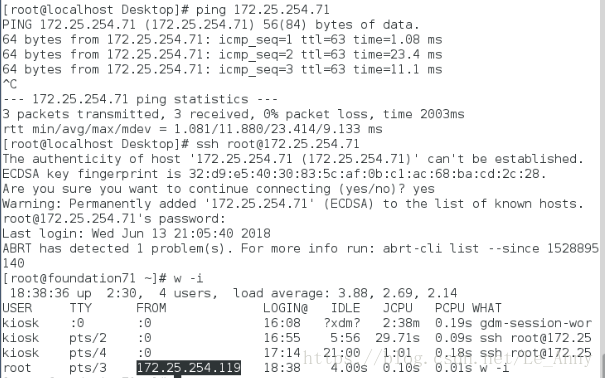
[root@localhost ~]# ifconfig  eth0: inet 172.25.254.119[root@localhost ~]# iptables -t nat -A POSTROUTING -o eth0 -j SNAT --to-source 172.25.254.119     ##在nat表中添加若ip为172.25.0.19的主机连接172.25.254.71的主机时,通过本台主机的eth0网卡路由转换伪装为172.25.254.119这个ip去连接的策略在server中:
[root@localhost ~]# ping 172.25.254.71     ##ping通真机[root@localhost ~]# ssh root@172.25.254.71[root@foundation71 ~]# w -i172.25.254.119    ##伪装成功
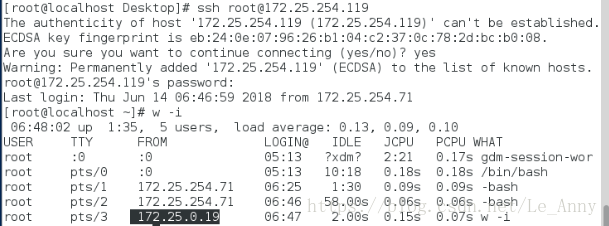
在desktop中:[root@localhost ~]# iptables -t nat -A POSTROUTING -o eth0 -j SNAT --to-source 172.25.0.19在server中:
[root@localhost ~]# ssh root@172.25.254.119[root@localhost ~]# w -i172.25.0.19


 随时随地看视频


